Getting Started with CampaignTrackly
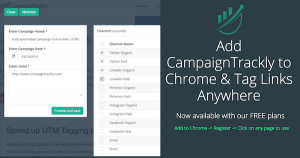
Before you start, make sure that you add our Chrome extension to your browser. It will eliminate the need for typing web URL links or having to open the CampaignTrackly app every single time you need to get tracking done:
This 4-page step-by-step guide illustrates how to:
- Set up your account to maximize the benefits of using our tracking & reporting tool;
- How to create, edit, export, search and navigate new & existing campaigns
- How to find and view your campaign Reports with minimal effort
- How to leverage existing use examples to enjoy hassle-fh2ree onboarding & adoption.
Setting Up Your Account
1. Go to the “Settings” tab of your dashboard.
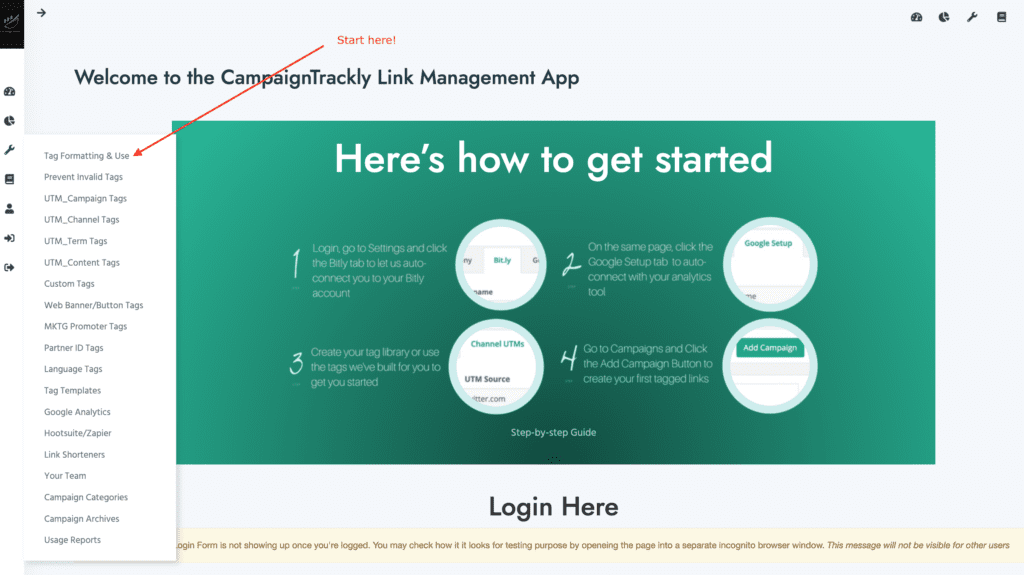
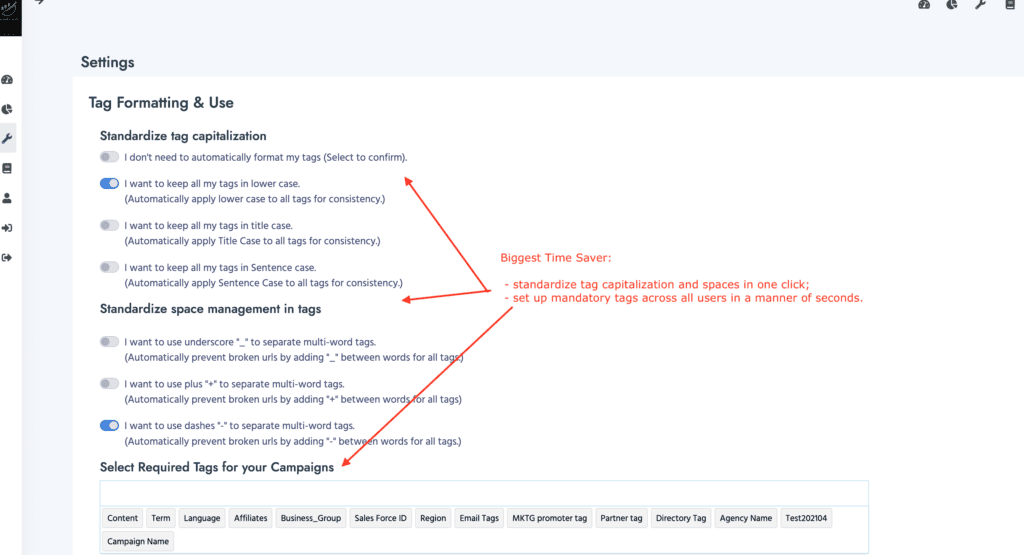
2. Open up the General Tag Settings
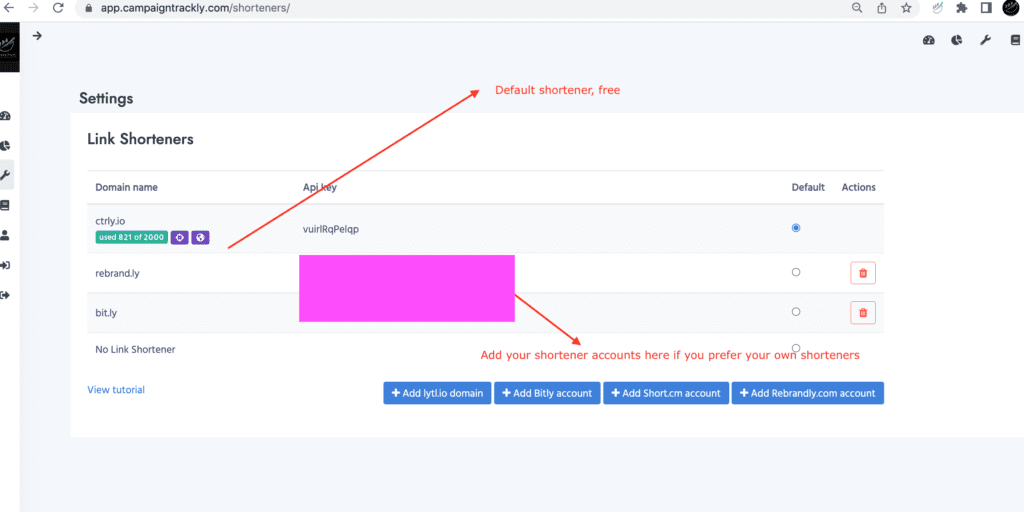
3. Next, define your Link Shortener.
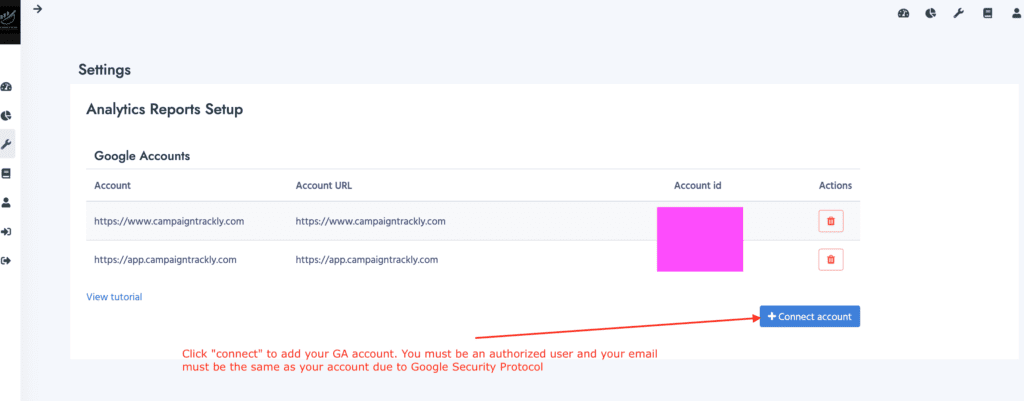
4. Connect to Google Analytics.
- You need to have an active account with the email that you are using for CampaignTrackly.
- Just click the “Connect” button, accept the terms and login to your account
- We do not have access to your account and only pull live the data you need to pull for security reasons
5. The best productivity rate is gained via use of our tagging library and templates.
- We have pre-populated a number of channels which you can use to get you started, however, you can add any custom channels you like.
- You can easily bulk-delete the tags and bulk-import or manually add your own tags.
- If you are not sure how to set up your channels, drop us a line or read more in our free UTM parameters guide.
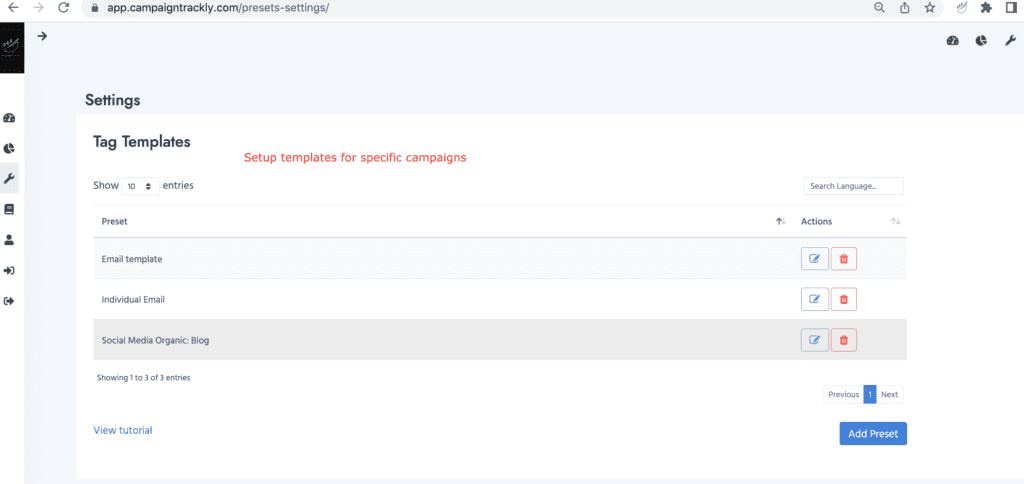
- We have pre-populated a few template examples – combination of tags used for specific campaigns- if you need ideas about your tagging templates, please don’t hesitate to contact us and we will be happy to share ours!
- To find out more about how tagging templates save you time, please read our blog post, Campaign is 36 times faster than Google URL Builder
<h4″>1. UTM Channel Tags

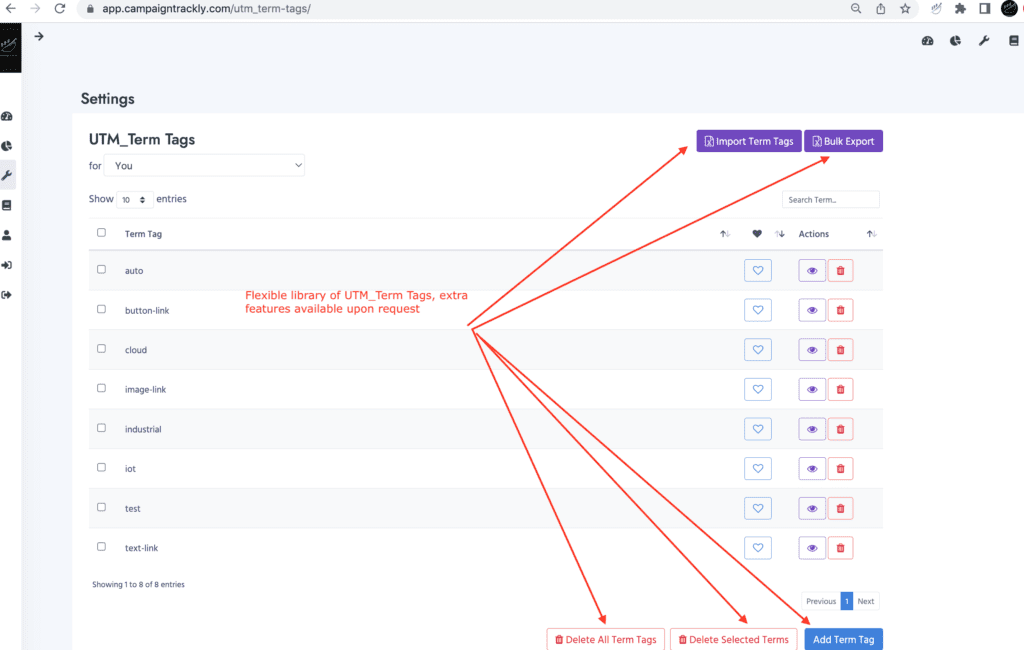
id=”#section-4″2. UTM Term Tags (Content Tags follow similar fashion – don’t forget to set up those as well!)
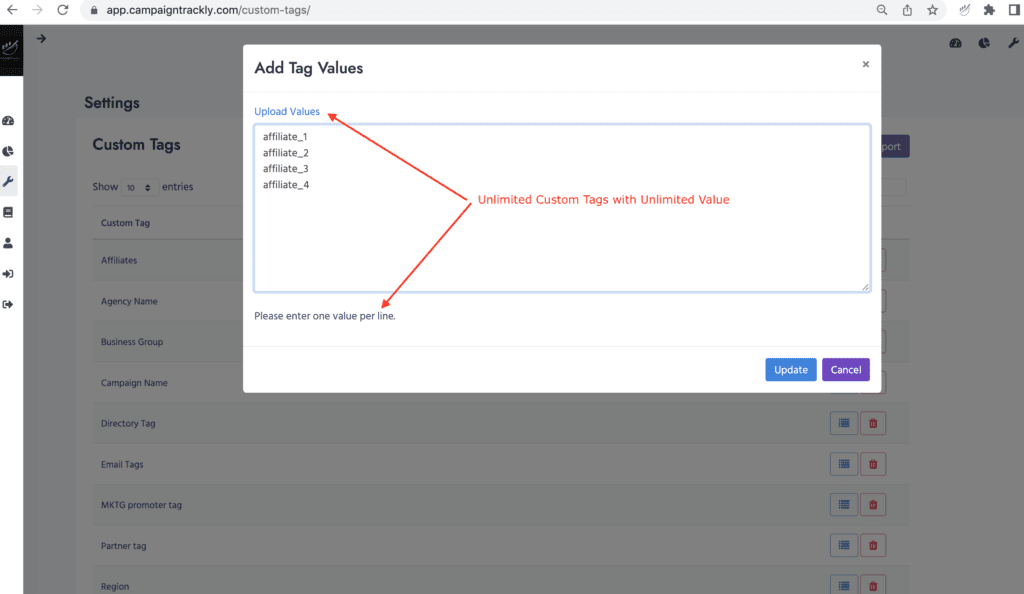
3. Custom Tags – unlimited tags and unlimited variations within these tags!
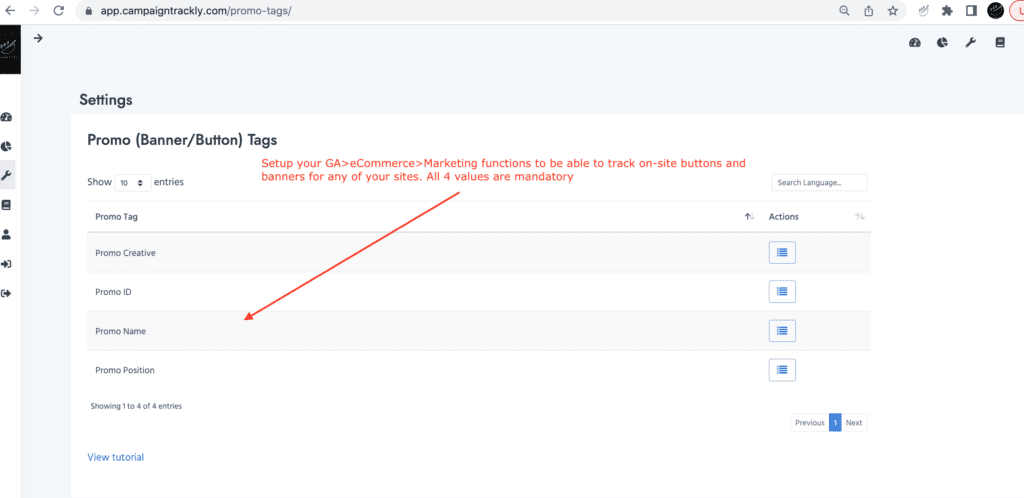
4. Button and Banner Tags – to track on-site performance of your assets
5. Tag Templates – Use a pre-set combination for every unique campaign to save time!
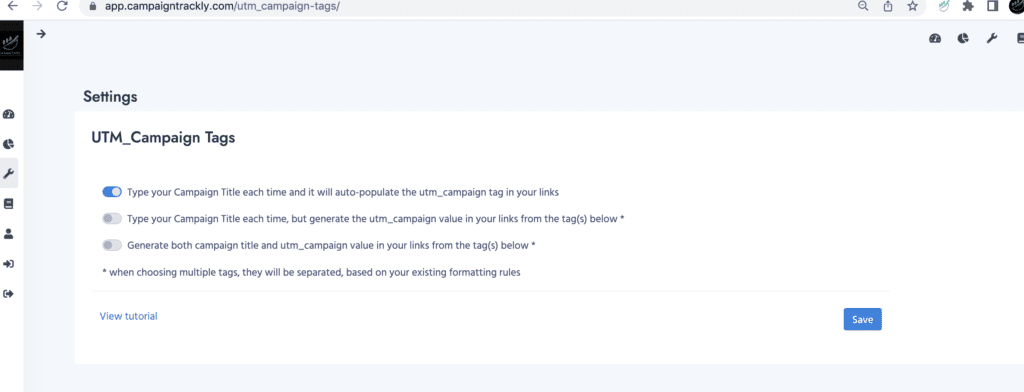
6. UTM_Campaign Options
- UTM_Campaign defines how Google names your custom campaign in its platform to group all relevant tracking links under it.
- We offer multiple ways to handle UTM_campaign – enter it manually each time, pull it automatically from certain values, and more. Ask us if you need help with this feature!
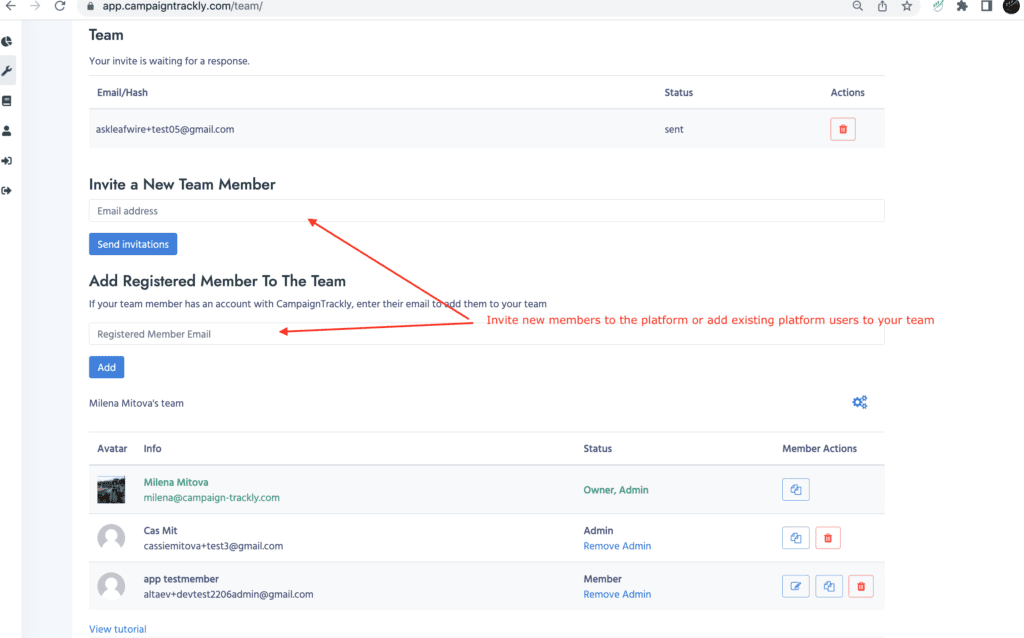
7. Teams
- Teams is an important feature to set up if you have purchased a team subscription. You will need to invite your team members, and if you are on an enterprise plan – assign permissions, separate tags and multiple other options to your sub-teams and team members. Here is a quick guide to help walk you through some of our team features.
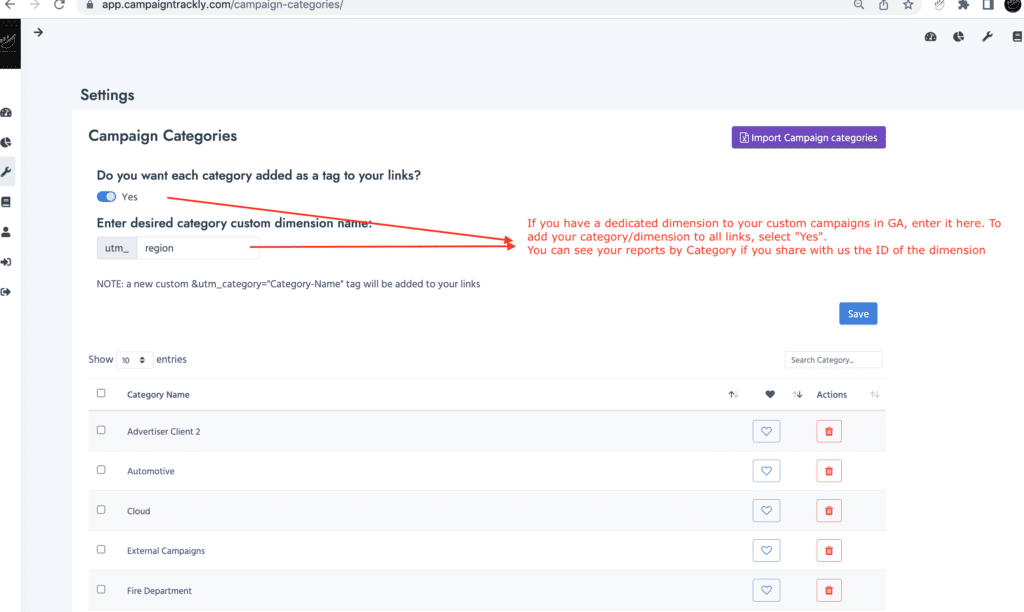
8. Categories
Grouping your campaigns by Brand, Region or other important denominator is a given in today’s complex network of channels and assets. We make it easy for you to leverage GA’s custom dimensions to define these sub-buckets for your reporting.
Just go to Campaign Categories, type your categories, set up the custom dimension name, select “yes” to make sure the category is added to your link each time, and then start tagging. You can see stats by category on our platform if you tell us the GA ID if the custom dimension!
![]()