SUCCESS! YOUR ACCOUNT IS NOW ACTIVE.
LET’S GET STARTED in 5 Easy Steps!
#1 Upload Your UTM Tags (or skip this step and use our demo tags):
We store them in one central place, accessible to you 24×7View UTM Tag Library
Watch the 4-minute tutorial:
#2 Upload Your Custom Tags (or skip this step – you can always do that later):
Custom Tags are additional parameters tracking business units, brands, regions, languages, etc.View Custom Tag Library
Watch the 1-minute tutorial:
#3 Decide on Tag Formatting (or skip this step – you can always do that later):
Take Control of Tag Formatting With a Click:
One-click set up of tag case, space management, & required tagsSet up Tag Rules
#4 Activate the Link Shortener/QR Code Generator
Set Up Your Shortener Here:
Choose if links should be shortened by default.Go to Shortener
#5 Create Your First URL Tagging Campaign
Get Started with Our DRag & Drop URL Builder:
Tag Your First URL
Deep-dive into CampaignTrackly Advanced Features
#Create A Template
Save time and minimize URL tagging errors by creating Tag TemplatesCreate a Drag&Drop Template
Watch the 40-second tutorial:
#Connect to GA4
Set up your GA4 Integration with a clickGo to walkthrough
Watch the 1-minute tutorial:
#Define Campaign Naming Conventions
We recommend that you auto-generate UTM_Campaign parameters from custom tags instead of typing it every time for optimal consistencySet Up Conventions
Watch the 1-minute tutorial:
#Download a copy of Our URL Tagging Playbook:
Use the playbook to build your UTM Tracking process in minutesView Playbook
#Add us on Edge or Chrome to automate tagging
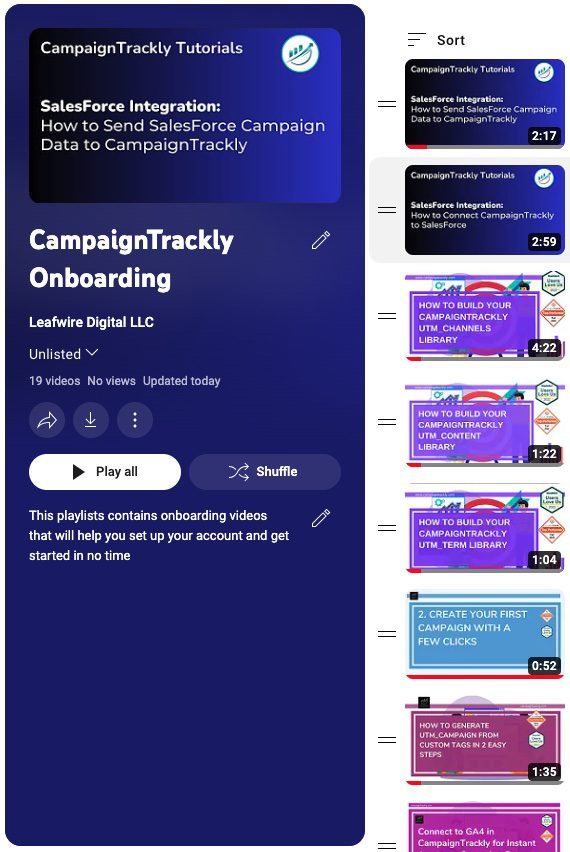
Get Edge Extension Get Chrome Extension#Integrate with SalesForce
Automatically Send Campaign Data to CampaignTracklyConnect to SalesForce
Watch the 2-minute tutorial:
Watch Our Onboarding Videos: